2. Editing the user form
This advice applies to England. See advice for See advice for Northern Ireland, See advice for Scotland, See advice for Wales
Watch the video about adding or editing sections to a user form on Loom.
Watch the video about adding or editing questions in a user form on Loom.
The user form is made up of sections. Sections help to structure the form so it’s easier for the user to progress through it.
A section is a collection of questions. Even if it’s just one question, it must go within a section. You can’t add a question to the letter on its own.
When you’re making a new user form, you can:
add existing form sections - called ‘reusable content'
create new form sections
You can use a mix of both in your template letter.
You can add or edit sections on the Template Letter v2 entry. There’s a field called ‘Form sections’.
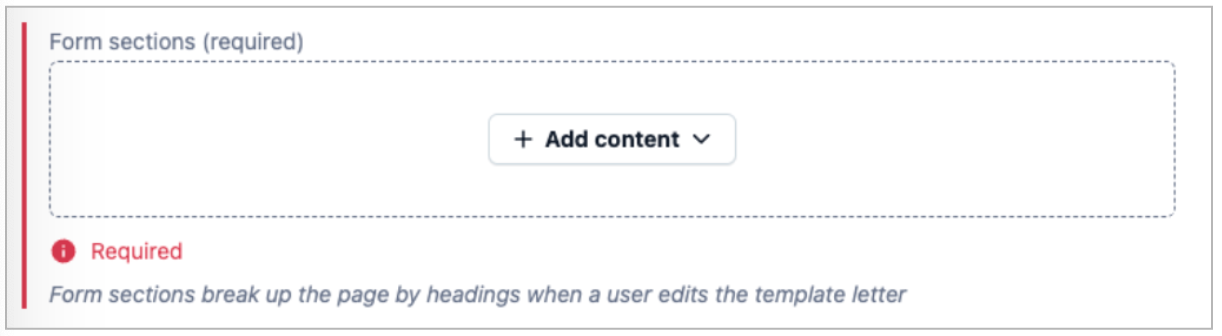
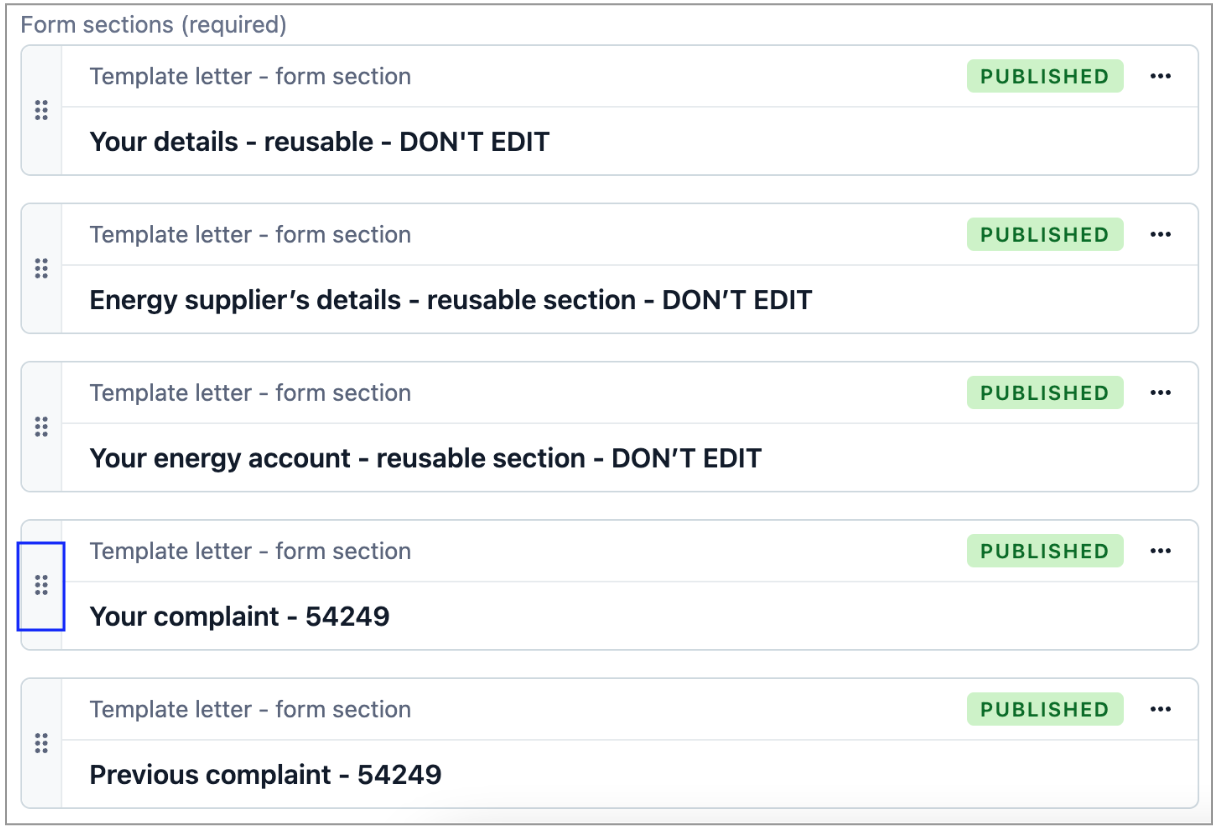
You can reorder sections by clicking and dragging them. Use the grey grab handle (6-dot icon) on the left.
Add an existing form section
Some sections are already built in Contentful. You can add them to your letters and they have the questions already set up within them. They're called 'reusable content'.
For example, a resuable section called ‘Your details’ already has questions for the user to answer with their name, address, email address and phone number.
This is how it looks in Contentful, and how it looks for the user.

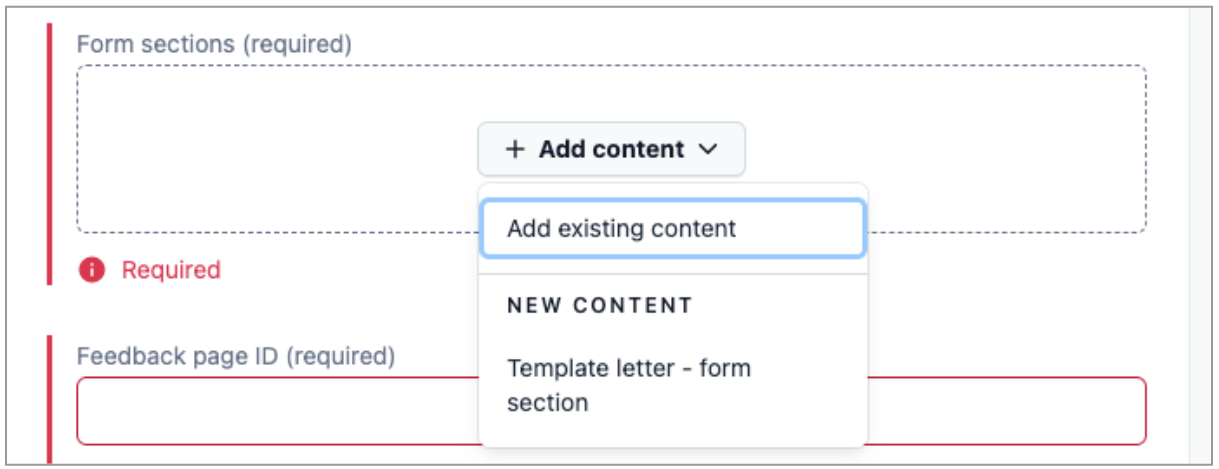
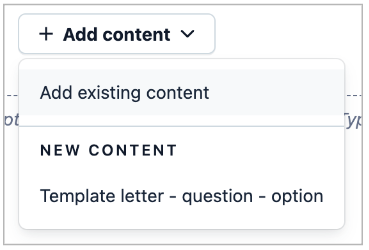
If you want to use a reusable form section, click the ‘Add content’ dropdown menu and then ‘Add existing content’.
You’ll see a list of all existing form sections that you can use. You can either scroll down to find the one you need or search for the name of the entry.
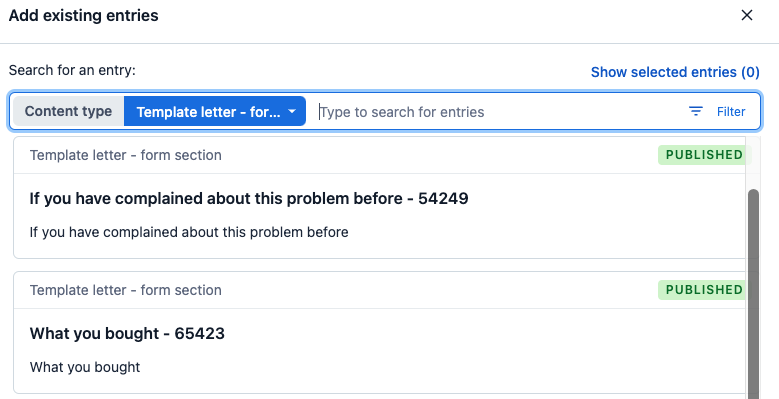
Reusable sections are labelled with the words ‘reusable - DON’T EDIT’.

You can see a library of all reusable content.
Don't edit reusable content
Reusable content is used in many letters. If you edit a reusable entry, all instances will change.
Don't edit any fields or add, remove or change the order of questions in reusable sections.
It’s better to create a totally new question or section and edit that instead.
In the rare situation you need to edit reusable content, check which letters use it first.
Add a new form section
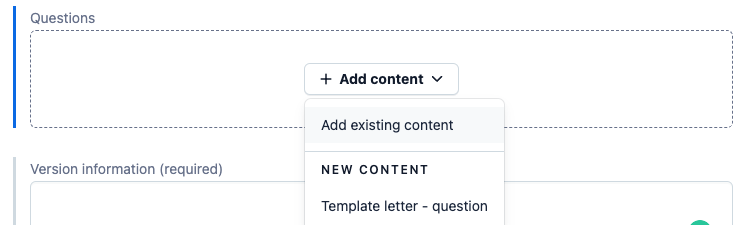
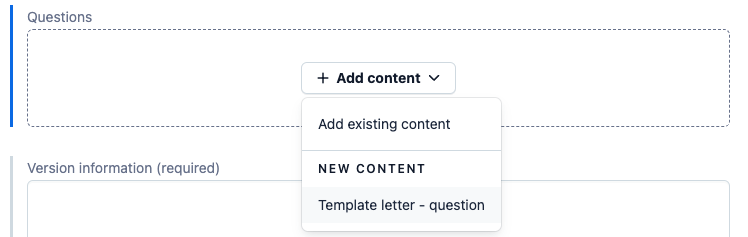
Click the ‘Add content’ dropdown menu and under the 'NEW CONTENT' section, click ‘Template letter - form section’.
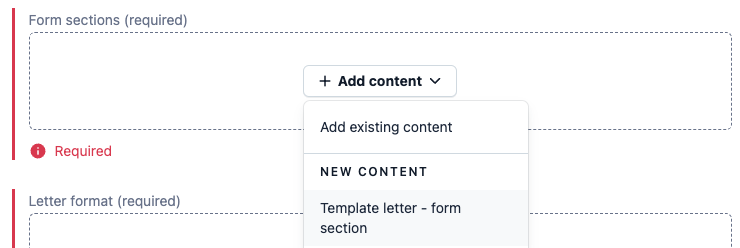
Do not duplicate a reusable section - it won’t duplicate the questions within it. It’s safer to create a new section from scratch.
Then you can add new questions and reusable questions to it. It’s ok to use a mix of both.
Fill in the fields for the section. Some fields are ‘required’ - this means you must fill them in.
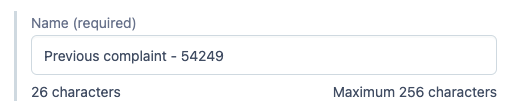
Name
This is the entry name to make it easier to find in Contentful. The user won't see it. Include the cab-ID number to help you find it.
You should name your sections like this: [title of content] - cab-ID number
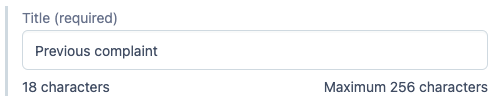
Title
This is the name of the section that the user will see.
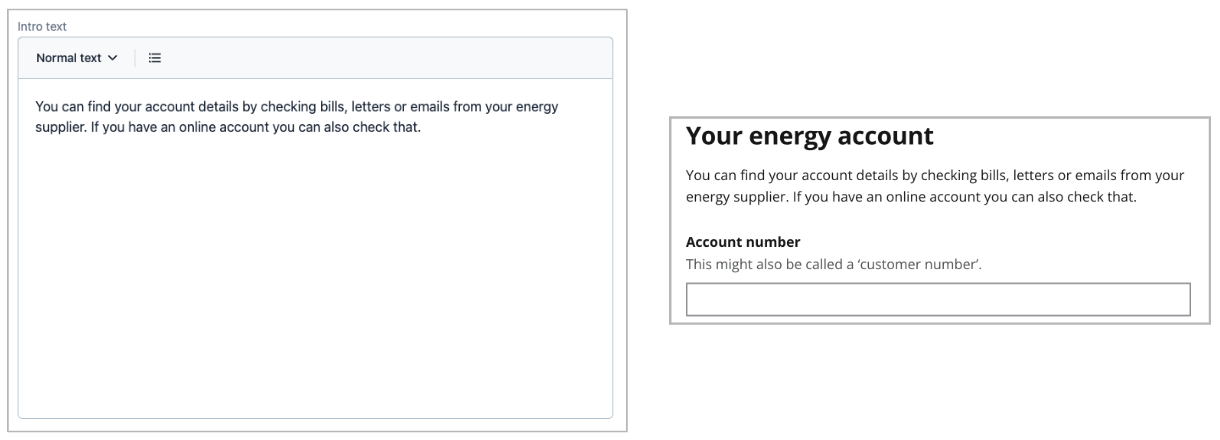
Intro text
This is an optional field for information that's relevant to all questions in that section. It will appear between the name of the form section and the first question.
You can use:
normal text
bullet point lists
You don’t need to write intro text for every section.
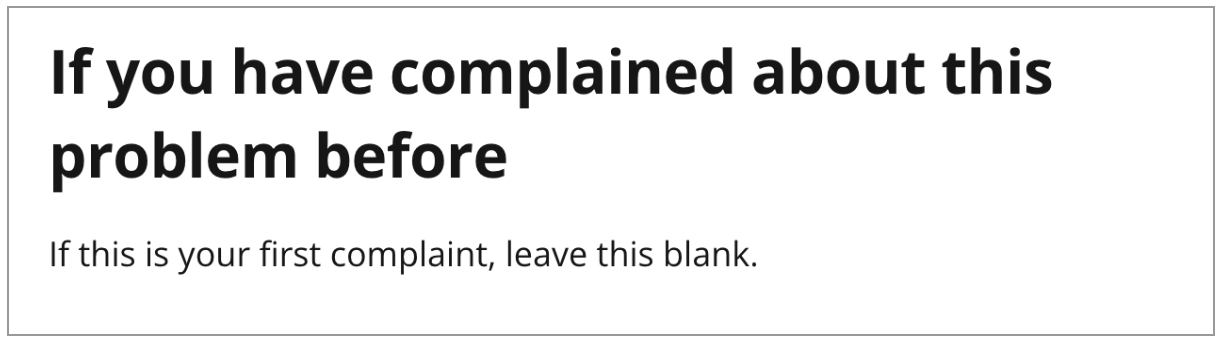
You can also use intro text to help users skip sections.
Questions
You can:
add existing form questions - reusable questions
create new form questions
It’s ok to use a mix of both.
Adding questions is covered in more detail in the next section of this guide.
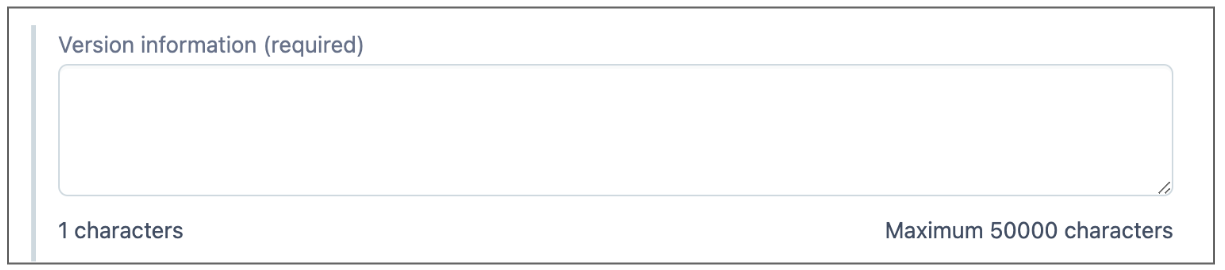
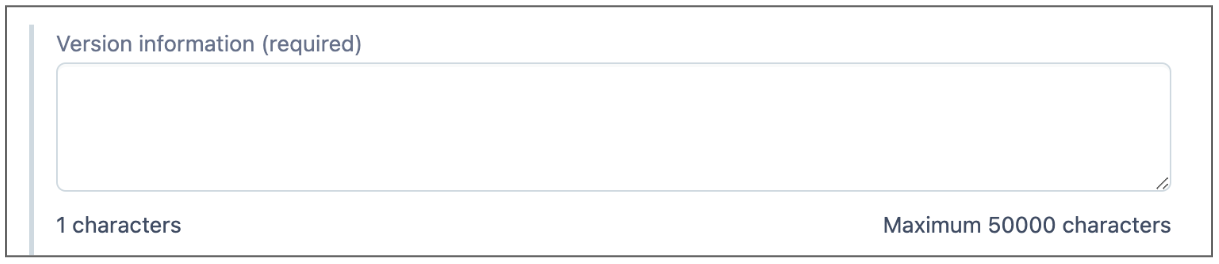
Version information
Try to write the version information so it will make sense to someone who looks at it later without knowing the context.
Say that it's a new section. If the work is part of a project, include the project name.
Remove a section from the form
You can remove sections from the form. It doesn't matter if they are reusable sections or sections that you created.
Click the 3 dot menu then select 'Remove'.

If you're editing an existing template letter, the section you removed will still be embedded in the letter format. Remember that you'll need to edit the letter format too.
Add existing questions
There’s a library of reusable questions you can use. You should check what reusable content is available first.
They have the words ‘reusable DON’T EDIT’ in the title.
Check the placeholder text makes sense for your letter first. If it doesn’t, you should create a new question instead.
If you need different placeholder text
If you want to use a reusable question but need different placeholder text, you should create a new question. Don't edit the original question.
Open the reusable question in a separate tab, then copy and paste the error and hint text across to your new question.
Click ‘Add content’ then choose ‘Add existing content’.
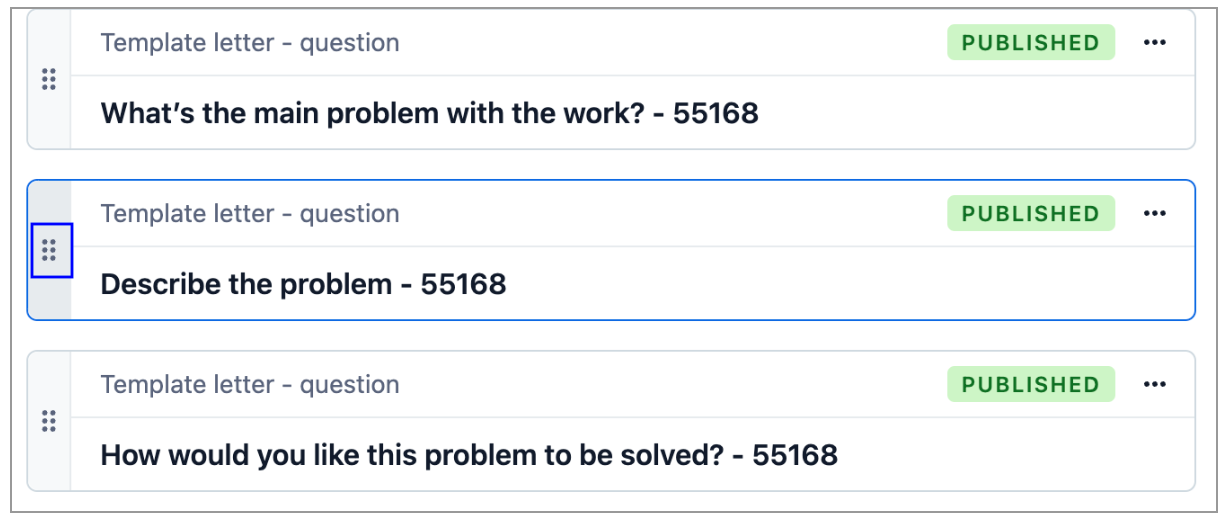
You can reorder questions within a section by dragging them. Use the grey grab handle icon on the left.
Don't reorder questions within a reusable section, because it will change the order on every letter that uses them.
Add a new question
Click ‘Add content’ then under the section ‘NEW CONTENT' click 'Template letter - question’.
Fill in all the fields for the question. Some fields are ‘required’ - this means you must fill them in.
Name
This is the entry name to make it easier to find in Contentful. The user won't see it. Include the cab-ID number to help you find it.
You should name questions like this: ‘[title of content] - [cab-ID number]’.

Label
This is the name of the question that the user sees. Use content patterns to help you write it.

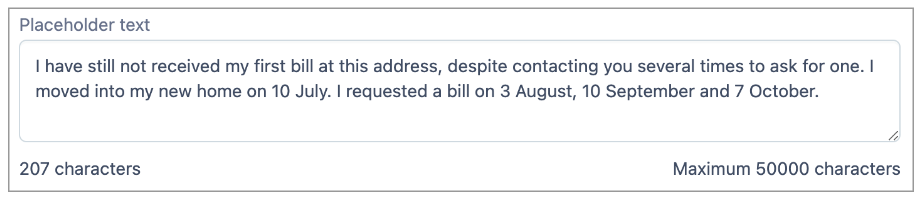
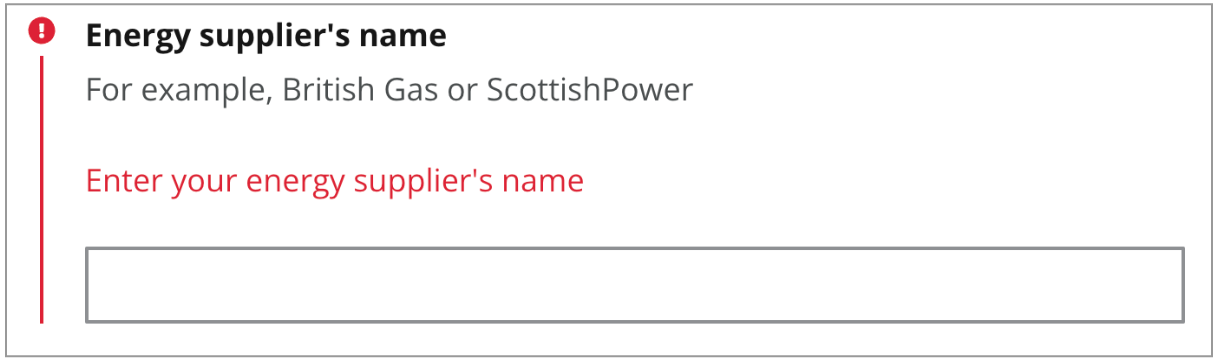
Placeholder text
Placeholder text appears on the example version of the template letter, in place of where the user’s answer would normally be. It helps the user understand if the letter is useful for their situation before they decide to fill it in. For example, when a user reads the example for a letter about faulty goods, it includes placeholder text about a faulty sewing machine.
If you need to include addresses and company names, use our list of placeholder text. If you need to invent a new company, make sure the name is not the same as any real-life company.
If you need to include a date, use the year 2022 or later.
If it's a radio button question
You should use one of the radio button responses in the placeholder text field.
If the question is required
You should always add placeholder text.
If the question is optional
It’s up to you if you add placeholder text. For example, you should leave it blank if it would make the example letter very long.
Hint text
Hint text is a short sentence or example that helps users with context, or gives suggestions about what they should include in their answer.
Add additional information or specific examples to the hint text if it helps the user to know:
what format to put their answer in - for example, the date in the format 14 January 2022
where to find the information they need - for example, where to find their National Insurance number.
Where possible, the question label should be clear enough that a user can answer the question without hint text.
If you are giving an example of what to write, use single quotation marks.
End hint text with a full stop.

Select the type of question
This determines which type of field the user fills in. It also determines how the content appears on the letter. You can only choose one type.
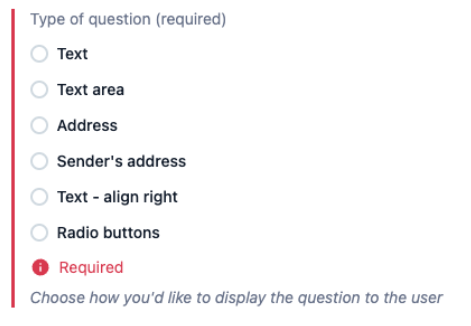
Text
A one-line text field. Use for short answers of a few words like names, phone numbers, dates, and costs.
Text area
A multi-line text field. Use for longer answers like descriptions and complaints.
Address
A multi-line text field. On the letter, the text will always align to the left. It’s used in the reusable content for the recipient’s address.
Sender’s address
A multi-line text field. On the letter, the text will always align to the right. It’s used in the reusable content for the sender’s address.
Text - align right
A one-line text field. On the letter, the text will always align to the right. It’s used in the reusable content for the sender’s information that appears under their address, like their phone number and email address.
Radio buttons
Several options appear as radio buttons on the form. Using radio buttons is covered in more detail in the next part of the guide.
Required?
Select whether the question is required or not.
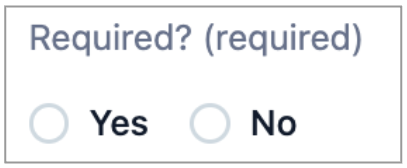
If you select ‘yes’, the user must answer the question. If they don’t answer it, they can’t progress to preview their letter.
They will see an error message above the answer field for any questions that they need to fill in.
They will also see an error summary at the top of the form. If there's more than one error, the error messages will show in a list.

There's more detail about writing error messages in the next section.
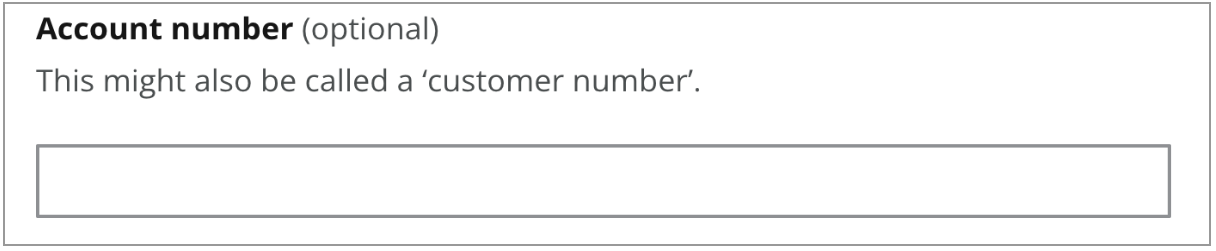
If you select ‘no’, the user will see '(optional)' next to the question. If they don’t fill in an answer, they will still be able to progress.
Error message
If the question is marked '(optional)', users won’t see an error message, so you don’t need to write one in Contentful.
If the question is required, you should write an error message.
Keep error messages clear and concise to help users fix their error. Use the same wording as the question as much as possible.
Start error messages with:
‘Select’ for radio button questions
‘Enter’ for questions that need a text answer
Don’t use ‘Please’ or a full stop at the end.
Read more about error messages on the design system.

Version information
Try to write the version information so it will make sense to someone who looks at it later without knowing the context. Say that it's a new question. If the work is part of a project, include the project name.
Removing questions from a section
If it's a reusable section, you shouldn't remove any questions. This is because it will remove that question from all the other letters that include the reusable section.
If it's a question you created, and it's not used in any other letters, you can safely remove it. Click the 3 dot menu then select 'Remove'.

If you're editing an existing template letter, the questions you removed will still be embedded in the letter format. Remember that you'll need to edit the letter format too.
Using radio buttons
If you selected radio buttons as the question type, you can add radio buttons to the question.
You can:
add existing radio buttons - reusable content
create new radio buttons
It’s ok to use a mix of both.
Users can answer these questions by selecting a radio button. They can only select one.
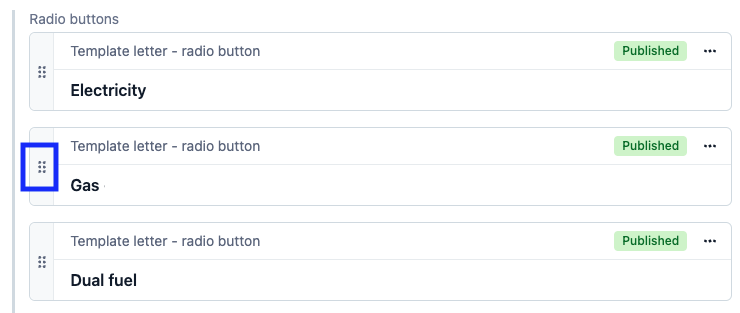
This is what it looks like in Contentful, and for the user on the live website.
You can reorder the radio buttons by dragging them. Use the grey grab handle icon on the left.
Don't reorder radio buttons within reusable questions - it will change the order on every letter that uses it.
Add an existing radio button
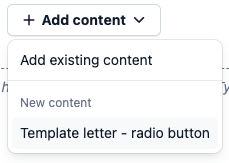
Click ‘Add content’ then choose ‘Add existing content'.
Add a new radio button
Click ‘Add content’ then under the section ‘NEW CONTENT' click 'Template letter - radio button.
Fill in the fields for the radio button.
Name
This is the entry title to make it easier to find in Contentful. The user won't see it.
You should name radio buttons like this: ‘[title of content] - [cab-ID number]’.

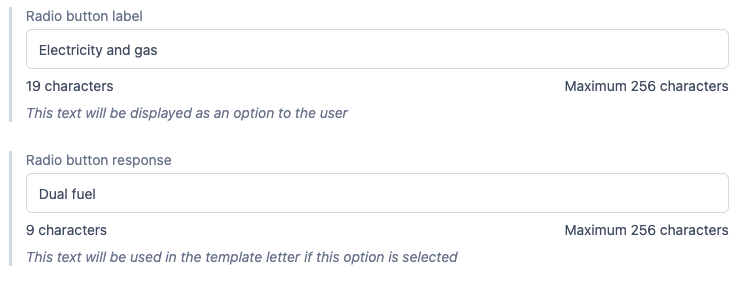
Radio button label
This is the label on the radio button that is displayed to the user. It should start with a capital letter unless each radio button is finishing the end of a sentence.

Radio button response
This is the text that will appear in the letter.
It can be different from the radio button label. For example, if the response will be embedded in a sentence, you can write it in lowercase, or add extra words so it makes sense.

You can change the words between the label and the response to make it clearer for the 2 users: the sender, and the recipient. You could choose to use different keywords or terms for each user group.
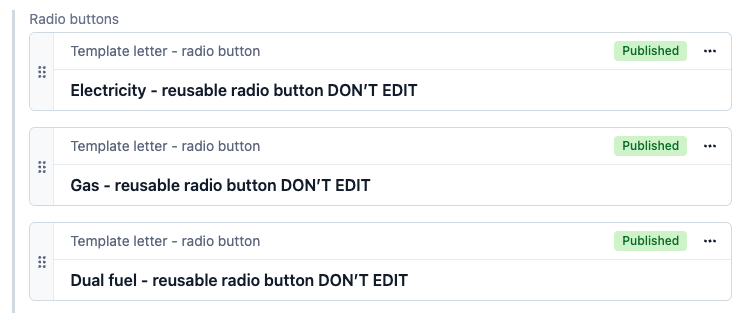
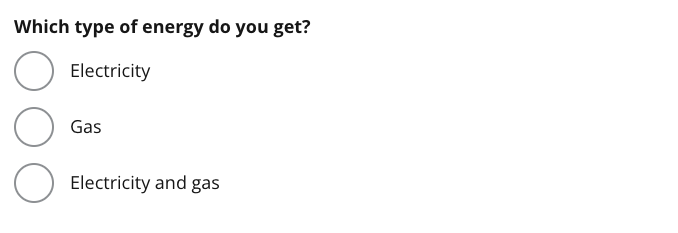
For example, this question asks the user which type of energy they get. We ask if they get ‘Gas and electricity’ on the radio button label.
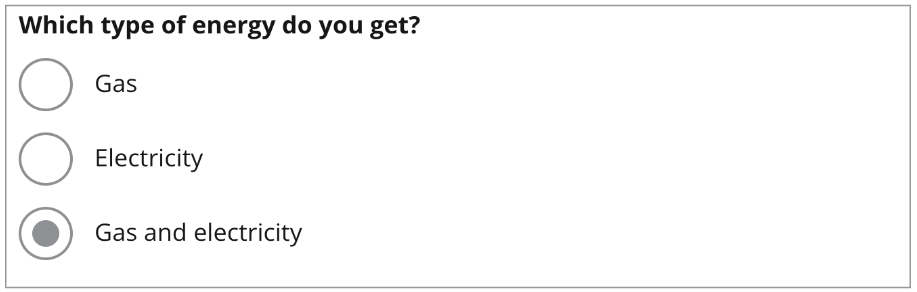
In the letter format, we embed it inline next to the phrase ‘Type of supply’. This language is clearer for the recipient of the letter - the energy company.

Additionally, we change the radio button response from ‘Gas and electricity’ to ‘Dual fuel’ so it’s clearer for the energy company.
The final letter looks like this.

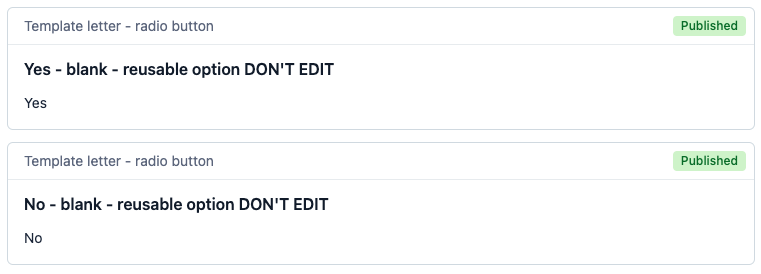
If it’s a Yes / No question
You might want to create a ‘Yes / No’ question where one of the radio buttons generates a response, but the other stays blank. There are reusable radio buttons for ‘Yes’ and ‘No’ already in Contentful. Their radio button responses are blank. You can add the relevant blank radio button to your question.
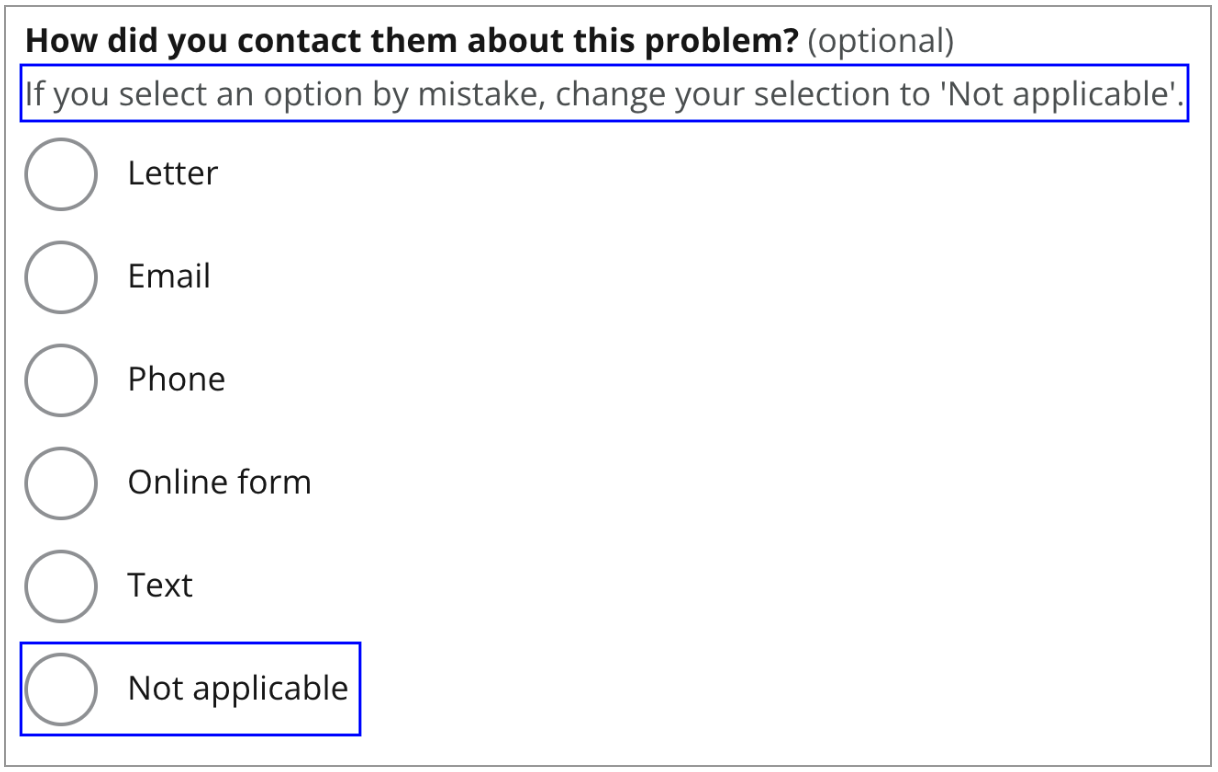
If it’s an optional question with radio buttons
You should add the reusable radio button ‘Not applicable’ at the bottom of your radio buttons. The radio button response is blank, so it won’t add anything to the letter.

You should also include the hint text: ‘If you select an option by mistake, change it to 'Not applicable'.
This helps the user deselect a radio button without needing to reload the form.
Removing a radio button from a question
If it's a reusable question, you shouldn't remove any radio buttons. This is because it will remove that radio button from all the other letters that include the reusable question.
If it's not a reusable question, it's safe to remove any of the radio buttons. It doesn't matter if they're reusable radio buttons or radio buttons that you created.
Click the 3 dot menu then select 'Remove'.

Editing the letter format
Once you've finished adding sections and questions, you can move on to the step of creating the letter format. You'll do this in the 'letter format' field on the template letter entry.
There’s a separate page that shows you how to do this - 3. Editing the letter format.
Help us improve our website
Take 3 minutes to tell us if you found what you needed on our website. Your feedback will help us give millions of people the information they need.