1. Creating a new decision tree
This advice applies to England. See advice for See advice for Northern Ireland, See advice for Scotland, See advice for Wales
You might find it helpful to map out the different branches of your tree on paper or with an online tool like app.diagrams.net.

To build a new decision tree in Contentful you’ll need to:
Create a new decision tree entry
Create questions
Create answers
Create results
Create a new decision tree entry
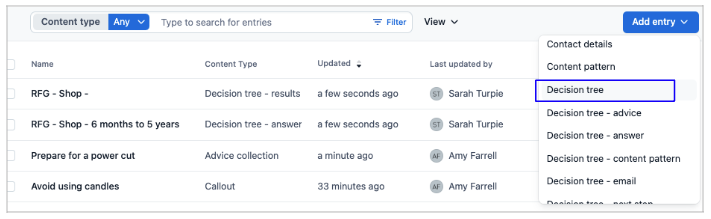
Click on the blue ‘Add entry’ button at the top right of the Content screen. In the dropdown menu, click on ‘decision tree’.
Set up the tag for the decision tree
Before you start filling in the fields, you should set up the tag.
Tags are used to link together the decision tree entries in Contentful. The user won't see tags.
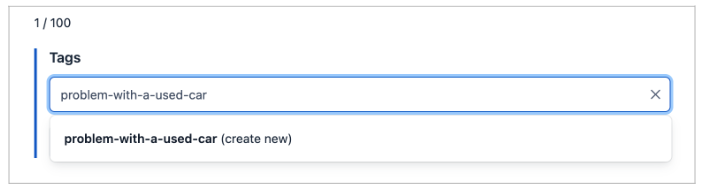
Navigate to the tags tab near the top left of the screen.

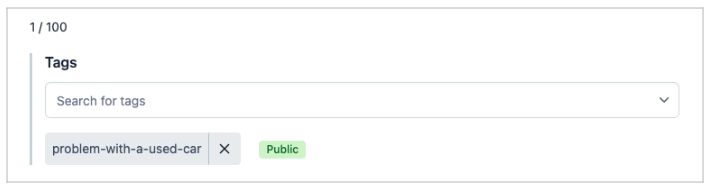
Type the name of your decision tree in lowercase.
If the decision tree is more than one word, use hyphens to separate each word.
When you’re finished, click the dropdown option to create a new tag.
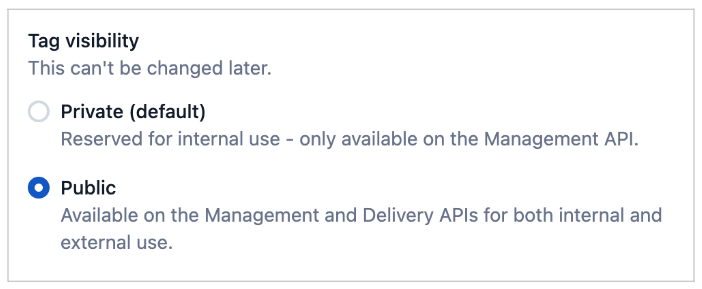
Tag visibility
Select ‘Public’. This setting can’t be changed later.
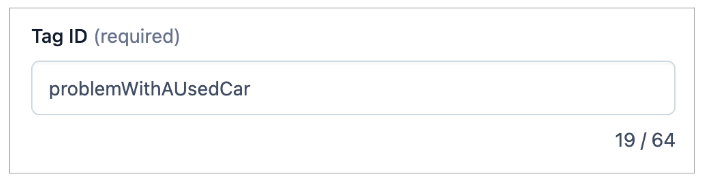
Tag ID
This field will be filled in automatically. Don’t edit it.
Once you’ve finished filling in the fields, click ‘Create and tag’. The tag will appear.
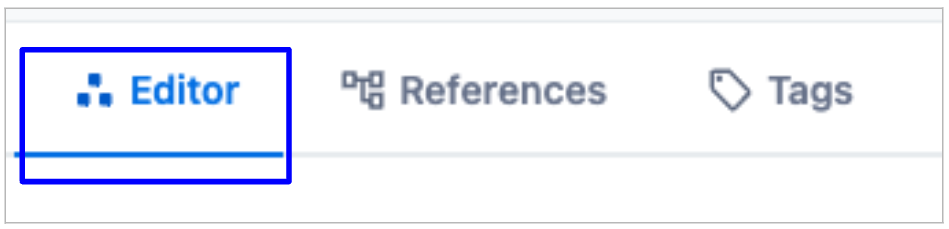
Fill in the fields for the decision tree
Go to the ‘Editor’ tab.
Some fields in the decision tree entry are ‘required’ - this means you must fill them all in.
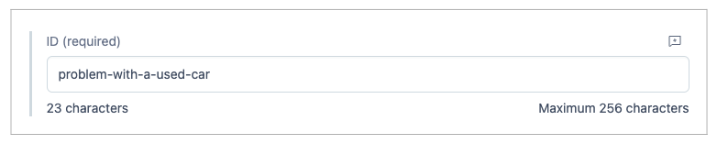
ID
The ID is used to identify the decision tree. It will appear in the end part of the URL.
Type in the name of your decision tree. It should be exactly the same as the tag and must be in lowercase.
It must be unique - Contentful will warn you if another entry has the same ID.
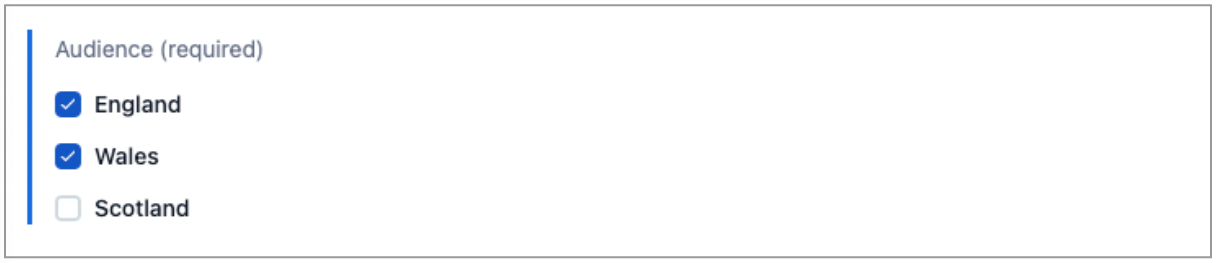
Country
Select the countries where you want the decision tree to appear.
Root question
This is the first question in the decision tree. This field will be covered in more detail in 2. Editing the questions.

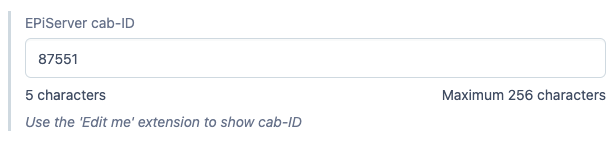
Feedback Page ID
You can get the cab-ID from the end of the URL while you’re in edit mode in EPiServer. You can also use the 'Edit me' chrome extension while you’re on the public page.
If it’s a new decision tree, you should create a new page in EPiServer to generate a new cab-ID.
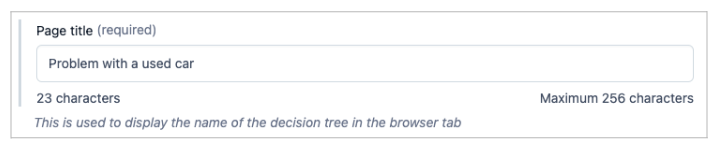
Page title
This is the name of the decision tree that the user sees. It’s used to display the name of the decision tree in the browser tab.
Results page title
This text will be displayed to the user once they’ve finished answering the questions. It will be above the results.

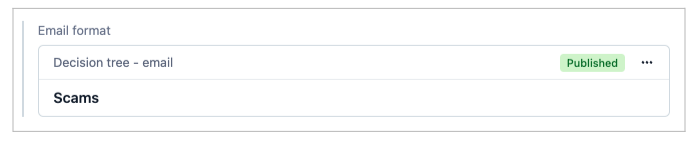
Email format
This field is covered in another page of the guide, 4. Editing the email format.
Email results
Select if users can email themselves a copy of their results page.

If you select 'Yes', users will see a field to type in their email address and a button to send the email.
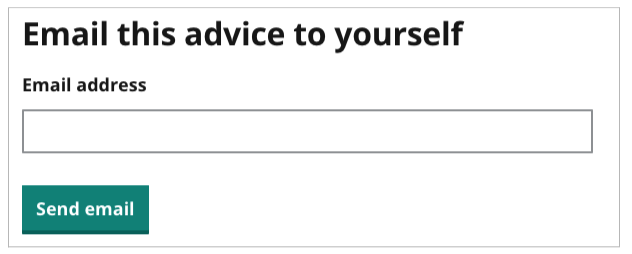
If you select 'No', you can skip the page 4. Editing the email formatin the guide.
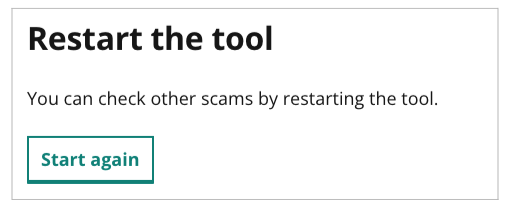
Restart tool
Select if users can restart the tool.
If you select ‘Yes’, there will be a button labelled ‘Restart’ at the bottom of the results page.

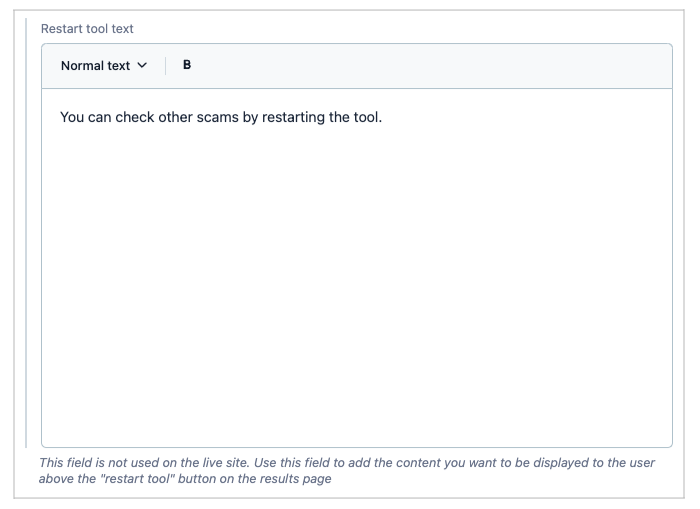
Restart tool
Use this field to add the content you want to be displayed to the user above the "restart tool" button on the results page.
Creating questions
You can now move on to the step of creating the questions. You will do this in the 'Root question' field.
There’s a separate page that shows you how to create and edit questions - 2. Editing the questions.
Help us improve our website
Take 3 minutes to tell us if you found what you needed on our website. Your feedback will help us give millions of people the information they need.